|
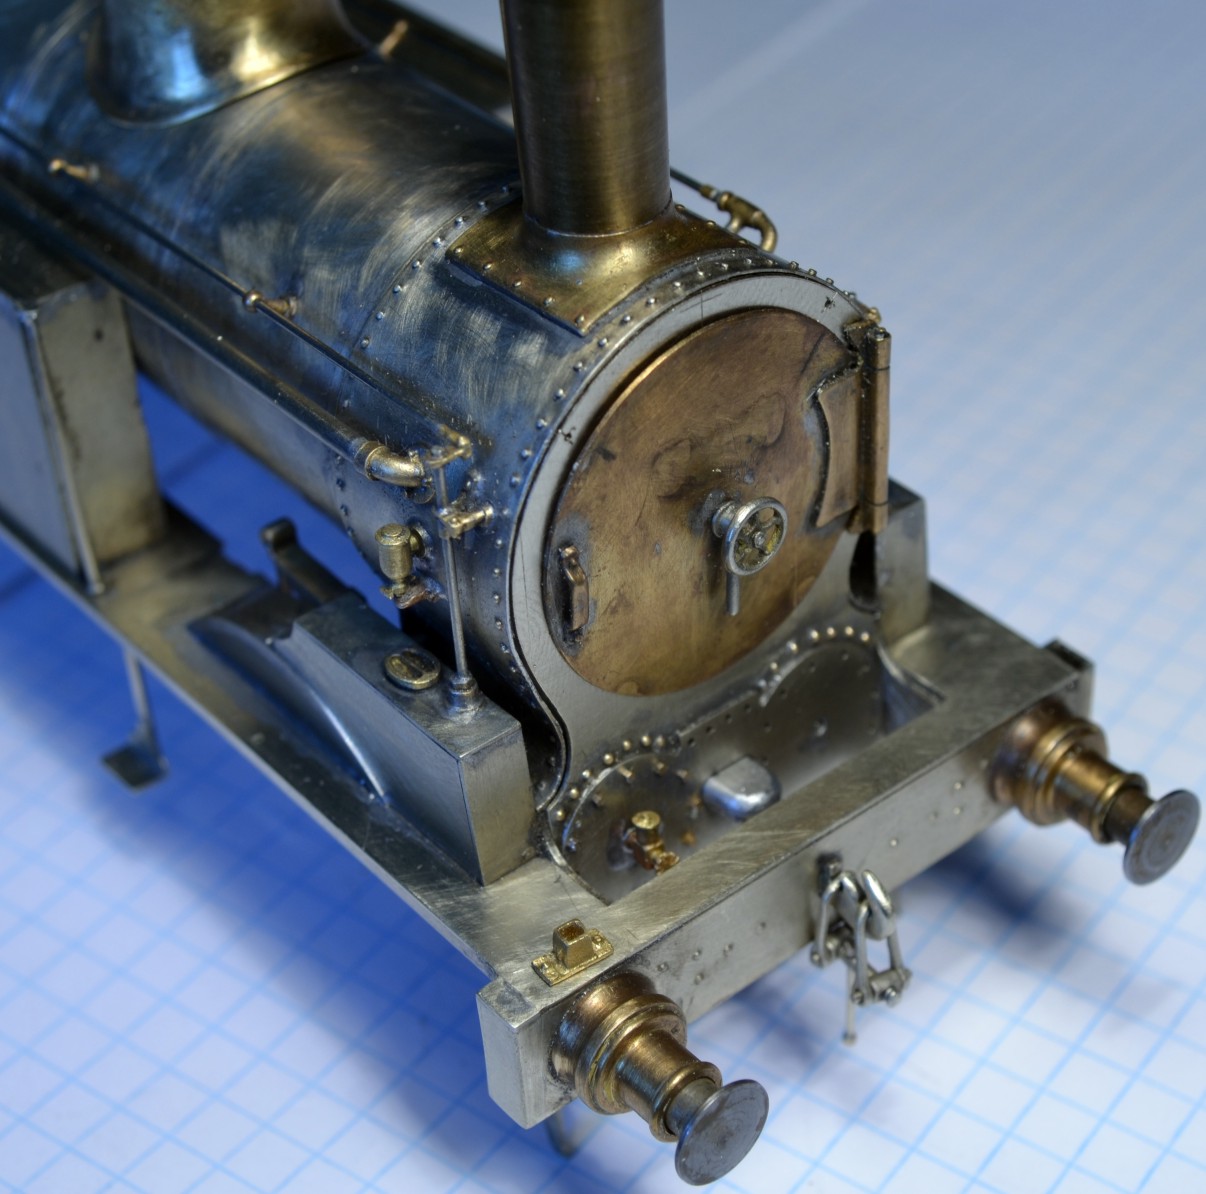
| Front of Coal Tank showing cylinder covers under construction |
When I put the cylinder covers in position I discovered that the semi-circle of rivets above them was in the wrong place, so I had to cut a new smokebox front. This time I elected to fix the cylinder covers in place then used dividers to mark out the position of the offending rivets. I drilled holes in the appropriate places and soldered 0.8 rivets from Scale Hardware into the holes. The cylinder covers similarly are drilled to accept Scale Hardware 0.7 hex bolts. The cast brass cylinder head lubricators are from LGM, here only the right hand one is in place, the left hand cylinder head is as yet unfinished. In the centre is the valve spindle cover.
Above the right hand buffer I've positioned an LNWR pattern lamp socket, which I've opened out to accept the tapered square peg of the lamp. I've not been able to locate a source for castings of the other patterns of lamp socket that were used above the smokebox door and on the bunker rear yet. I need them to scale so the loco lamps will actually fit into them